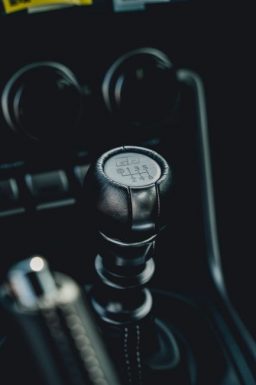
Common Causes of a Manual Transmission Stuck in Gear
Clutch components may wear or fail, leaving the pedal stuck and preventing disengagement. Misaligned or damaged shift linkages can jam the lever, while worn synchronizers create grinding and lock‑up, all leading to a gear that refuses to shift or drop to neutral. Idling worsens clutch drag, locks gear.!!?
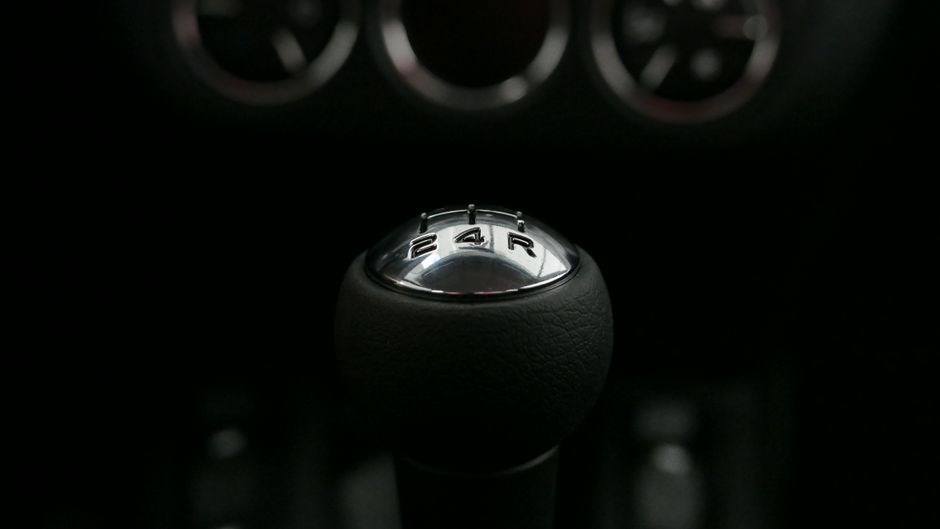
Clutch Failure or Improper Disengagement
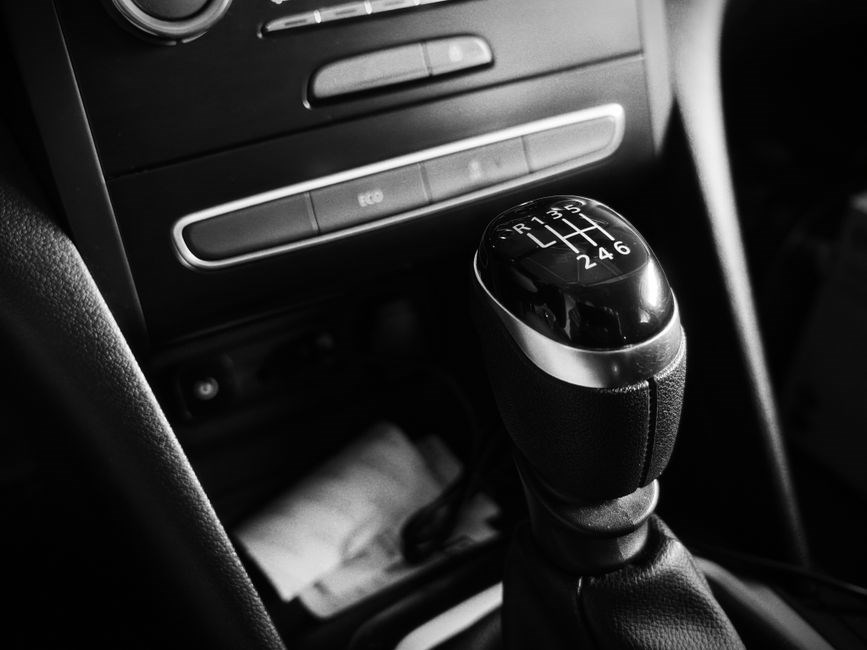
When a manual transmission refuses to shift, one of the most common culprits is a clutch that no longer releases cleanly. Over time the clutch plate, pressure plate, and release bearing can wear or develop internal damage, causing the pedal to feel spongy or dead‑stop. A worn release bearing may stick, preventing the pressure plate from disengaging fully, while a bent or damaged pressure plate can lock the clutch assembly in place. Hydraulic systems are equally vulnerable; a leaking master or slave cylinder, or a contaminated fluid line, can create a vacuum that keeps the clutch engaged. Even a simple cable mis‑adjustment can lead to insufficient travel, meaning the clutch never fully disengages. When the clutch fails to disengage, the input shaft remains locked to the engine, and the gear selector cannot move the gears into neutral or other positions. Symptoms include a pedal that feels too hard, a “drag” when the engine is idling, or a sudden loss of power when attempting to shift. Diagnosing these issues typically involves checking pedal free play, inspecting the hydraulic lines for leaks, and testing the clutch release bearing for smooth operation. Repairing the problem often requires replacing the worn clutch plate set, repairing or replacing the hydraulic components, and ensuring proper adjustment of the clutch pedal or cable system. Proper maintenance and timely replacement of clutch components can prevent this failure mode and keep the transmission shifting smoothly. Regular clutch checks keep gears moving freely today.
Shift Linkage Misalignment or Damage
Shift linkage misalignment or damage is a frequent culprit when a manual transmission refuses to shift out of gear. The linkage, which connects the shift lever to the gear‑shift fork inside the transmission, can become bent or corroded after a collision, a hard bump, or routine wear. Even a minor bend can create a dead‑stop that locks the selector in place, preventing the gear‑shift fork from engaging the next gear or neutral. Damage to the linkage rods, bushings, or pivot points can also cause the lever to bind or become unresponsive. Inspecting the linkage involves visually checking for bent or corroded parts, ensuring the rods move freely, and confirming that the shift lever’s travel matches the manufacturer’s specifications. If the linkage is out of alignment, a simple adjustment or replacement of the affected rods and bushings can restore smooth shifting. In more severe cases, the entire linkage assembly may need to be rebuilt or swapped for a new set. Regular inspection of the linkage, especially after any impact or heavy use, helps prevent this common cause of a stuck gear and keeps the transmission responsive. When the linkage is misaligned, the driver may notice a grinding noise, a delay in gear engagement, or a lever that feels stiff or stuck. The transmission may also slip or fail to hold a gear under load. A thorough diagnostic involves disconnecting the shift lever, inspecting the linkage rods for wear or damage, and measuring the lever travel with a dial indicator. If the rods are bent, they can be straightened or replaced. If the bushings are worn, they should be replaced to restore proper clearance. In some vehicles, the linkage is a single cable that can become frayed or kinked; replacing the cable can resolve the issue. For vehicles with a dual‑cable system, each cable must be inspected for proper tension and alignment. Once the linkage is repaired or replaced, the shift lever should be re‑adjusted to ensure smooth operation. It is also important to check the shift knob and any intermediate linkages for corrosion or damage. Corrosion can cause the linkage to seize, especially in humid climates. Replacing the entire linkage assembly can be costly, but it often provides a long‑term solution. Some manufacturers offer aftermarket linkage kits that are easier to install and may include improved bushings or a more robust cable. When installing a new linkage, be sure to follow the manufacturer’s torque specifications for all bolts and fasteners. After installation, test the transmission by shifting through all gears while the engine is running, ensuring that each gear engages smoothly and that neutral is accessible. If the problem persists, the issue may lie deeper in the transmission internals, requiring a rebuild or replacement. Additional inspection confirms proper alignment. Thorough maintenance prevents future issues. Keep it smooth.!!
Worn or Broken Synchronizers
Synchronizer rings inside a manual gearbox match gear and shaft speeds before engagement. Over time, friction material erodes, springs lose tension, and the rings can crack or deform. A damaged synchronizer produces a harsh click, grinding, or a gear that refuses to shift. Drivers may feel a stiff lever, a delay before gear engagement, or a gear that locks in place until the clutch is fully depressed. When the ring is broken, the gear may stay in neutral or fail to shift into reverse, especially under load. Diagnosis often involves a “clutch‑on” test: with the engine running, the driver depresses the clutch and attempts to shift. If the gear still does not engage, the synchronizer is likely damaged. Repair typically requires a transmission rebuild or a partial rebuild where the specific gear set is replaced. The entire gear train may need to be disassembled, the damaged rings removed, and new rings installed with proper lubrication. Rebuilding restores smooth shifting and prevents further gear‑tooth wear. Preventive measures include regular fluid changes, using high‑quality synthetic fluids, and avoiding aggressive shifting. Keeping fluid at the proper level and temperature helps maintain synchronizer integrity. If a synchronizer failure is suspected, a professional transmission specialist should perform a thorough inspection and rebuild before the problem worsens. Proper maintenance keeps the transmission running reliably and avoids costly downtime. Regular checks save money.!!
Diagnostic Steps to Identify the Problem
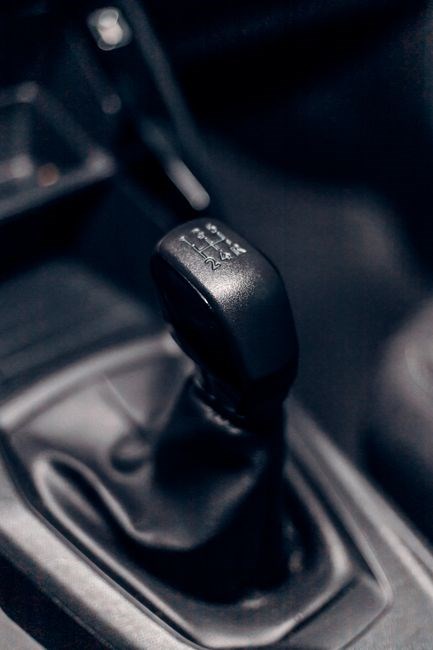
Start by checking clutch pedal free play and engagement. Next, inspect shift lever and linkage for obstructions. Finally, test transmission fluid level and condition for leaks or contamination. These steps isolate the root cause efficiently. —Expert advice.!!!
Check Clutch Pedal Free Play and Engagement
When the clutch pedal feels stiff or the release lever shows wear, replace the clutch disc and pressure plate before driving. A worn release bearing can cause dragging feel that stops the gear selector. A clogged hydraulic line reduces pressure, preventing disengagement. Flushing fluid checking the master cylinder for leaks a stuck incidents.. !!!.
Inspect Shift Lever and Linkage for Physical Obstruction
Begin by ensuring the shift lever is free of debris or rust that could impede movement. Remove the steering column cover and inspect the linkage rods for bent or broken pins; a misaligned rod can lock the lever in a fixed position. Check the cable or rod for fraying, and verify that the end stops are correctly positioned to allow the lever to reach neutral. Look for any signs of corrosion on the pivot points, as oxidized joints can create a stiff or stuck feel. If the lever moves but the gear does not shift, trace the linkage path to the transmission bell housing and confirm that the shift forks engage properly. A damaged fork or a broken splined shaft will prevent the gear selector from moving the gear teeth. Finally, test the lever by applying gentle force while the engine is off; a smooth, unhindered motion indicates that the physical components are in good order, whereas resistance or a sudden stop suggests a mechanical obstruction that must be repaired or replaced. Additionally, inspect the shift shaft for wear marks and ensure the splines are clean; a worn spline can lock the lever in place. Verify that the shift knob is properly seated on the shaft and that the detent mechanism engages smoothly. If the lever feels gritty, replace the bushings or adjust the cable tension. A properly adjusted linkage will allow the lever to move freely, preventing a stuck gear situation. Visual check of linkage rods or frayed cables can save hours of labor.
Begin by locating the transmission dipstick or fill plug, depending on the model. With the engine running and the vehicle in neutral, pull the dipstick and wipe it clean. Reinsert it fully, then remove again to read the fluid level. The indicator should sit between the minimum and maximum marks; a level below minimum signals a leak or insufficient fluid, while a level above maximum may indicate overfilling or a blocked drain. Next, examine the fluid’s appearance and odor. Fresh, clean fluid is typically a translucent amber color with a mild, sweet scent. Dark, gritty, or metallic sludge indicates contamination or overheating, both of which can cause gears to stick. If the fluid smells burnt, it may have overheated, damaging internal components. In such cases, a fluid change is essential. For transmissions with a pressure sensor, check the sensor’s reading against manufacturer specifications; a low pressure reading can also lead to poor shifting. Finally, inspect the dipstick for metal shavings or debris; their presence confirms internal wear. If any abnormality is detected, drain and replace the fluid, and consider a transmission flush if the manufacturer recommends it. Proper fluid maintenance keeps synchronizers lubricated, reduces wear, and prevents the gear from becoming stuck during operation. This ensures smooth gear engagement for al!
Repair Options for a Stuck Gear
Replacing or adjusting the clutch assembly restores disengagement while realigning the shift linkage corrects lever travel. If internal wear is severe, a rebuild or full replacement of the transmission may be required to eliminate gear lock‑up. All repairs by pro
Replace or Adjust the Clutch System
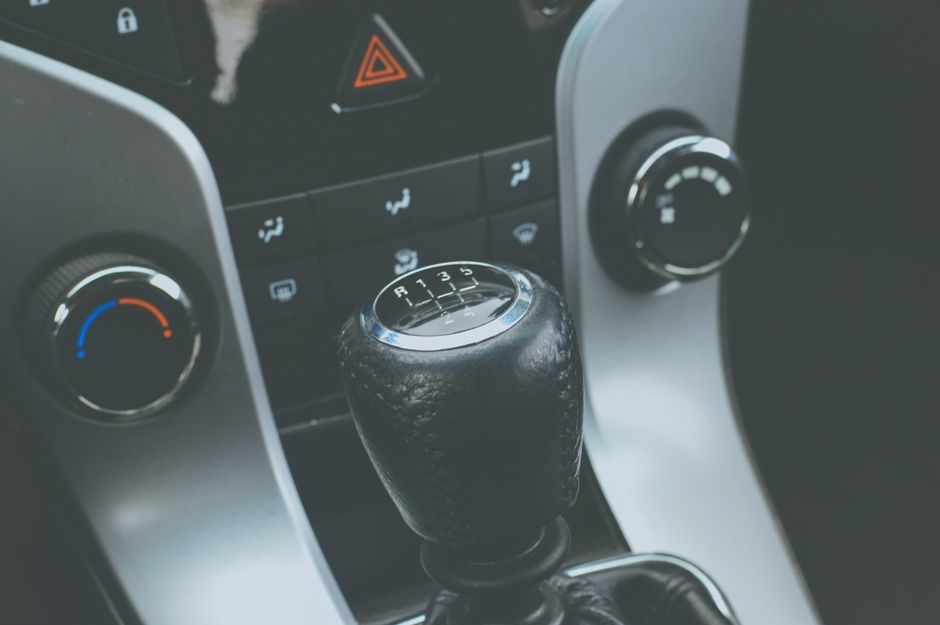
When a manual transmission refuses to shift, the clutch assembly is often at fault. A worn clutch disc, damaged pressure plate, or mis‑adjusted release bearing can keep the pedal from fully disengaging, locking the gear. Inspect the hydraulic system for leaks, verify fluid level, and bleed if dirty.
Next, remove the transmission and inspect clutch components. A cracked or warped pressure plate can cause uneven wear and lock‑up. Replace damaged plates or discs with OEM or high‑performance parts. Inspect the throw‑out bearing for wear; a failing bearing can prevent smooth disengagement.
After replacing clutch hardware, re‑assemble the system and adjust the release bearing for proper free‑play. The typical range is 1.5–2.0 cm (0.6–0.8 in). Use a feeler gauge to check the gap between the clutch fork and pressure plate. If the gap is too small, the clutch won’t fully disengage; if too large, the pedal feels spongy. Fine‑tune until the pedal feels firm yet smooth.
Finally, reinstall the transmission, refill the fluid, and test drive. Shift through all gears while idling to confirm the clutch disengages fully. If the problem persists, inspect hydraulic lines for leaks or rebuild the clutch. Check for leaks after the rebuild.!
After completing these steps, perform a short test drive to confirm smooth shifting. Keep a log of clutch adjustments and fluid changes to anticipate future maintenance and prevent unexpected gear lock‑ups.—now safe.!!
Realign or Repair Shift Linkage Components
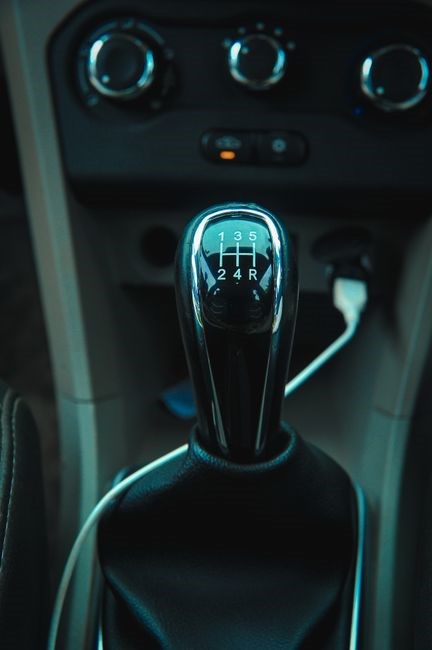
Shift linkages translate the lever’s motion into gear changes. A mis‑aligned or damaged linkage can jam the gear selector, leaving the transmission stuck in gear or preventing neutral. Begin by inspecting the linkage rods, bushings, and pivot points for wear, corrosion, or broken pins. Replace any damaged parts with OEM equivalents.
Next, adjust the linkage to match the manufacturer’s specifications. Use a feeler gauge to check the clearance between the shift fork and the gear selector. The ideal clearance is typically 0.4–0.6 mm (0.016–0.024 in). If the gap is too tight, the lever will bind; if too loose, the gear may not engage fully.
When realigning, keep the transmission in neutral and the engine off. Move the lever through each gear, noting any resistance or unusual play. Tighten or loosen the adjustment screws on the linkage pivot until smooth operation is achieved. After adjustment, test the shift lever by engaging each gear while the car is idling to confirm that the transmission moves freely.
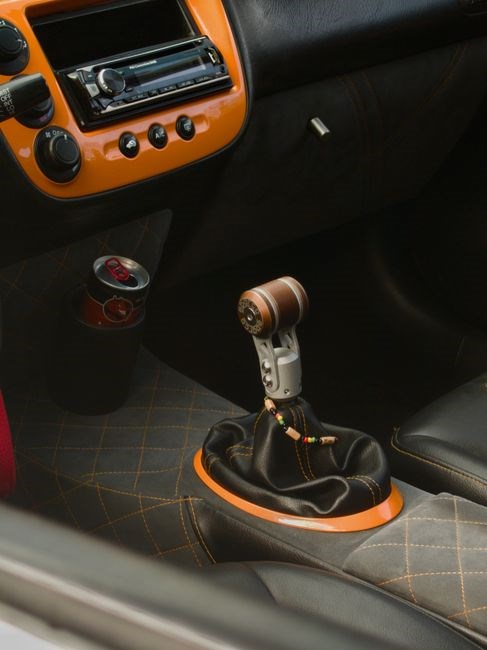
Finally, lubricate all pivot points with a high‑quality grease to reduce friction and extend component life. Document the adjustment settings and schedule a follow‑up inspection after a few hundred miles to ensure the linkage remains aligned and a smooth driving experience.!!
Inspect rods for bent pins, lubricate bushings, and verify pivot clearances. Small adjustments restore smooth operation and prevent gear‑stuck incidents for all gears and smooth
Rebuild or Replace the Transmission Internals
When a manual gearbox refuses to shift or locks into a gear, the root cause often lies within its internal components. A comprehensive rebuild or replacement involves disassembling the case, inspecting each gear, synchronizer ring, bearing, and shaft for wear or damage. Start by removing the transmission from the vehicle and draining the fluid. Carefully extract the input shaft, output shafts, and gear sets, noting the order and orientation of each part. Check gear teeth for scoring or pitting; any significant wear warrants replacement. Synchronizer rings should be inspected for worn rings or damaged cones; a worn synchronizer can cause grinding and lock‑up. Bearings—both main and intermediate—must be examined for excess play or noise; a failing bearing can cause the entire assembly to seize. Once the worn parts are identified, replace them with OEM or high‑performance equivalents. Re‑assemble the gearbox, ensuring all seals are properly seated and the correct amount of grease is applied to bearings. Reinstall the transmission, refill with fluid and perform a test drive to confirm smooth engagement across all gears. If the rebuild does not resolve the issue, consider a transmission replacement, selecting a unit that matches the original specifications and includes updated synchronizer designs for improved durability. Properly aligning the gear sets during reassembly is critical; misalignment can lead to premature wear and future lock‑ups. Finally, after any rebuild or replacement, monitor the transmission’s performance over the first few hundred miles, checking for smooth shifts, proper fluid levels, and absence of unusual noises. This proactive approach ensures long‑term reliability and prevents future gear‑stuck scenarios. Regular daily maintenance, such as timely fluid changes and clutch inspections, can extend gearbox life and prevent gear‑stuck incidents!
Preventive Measures to Avoid Gear Stuck Issues
Inspect the clutch regularly and replace it before the pedal loses free play. Keep transmission fluid at the correct level and change it per schedule to avoid sludge. Adjust the shift lever and linkage so the selector moves smoothly, and check for loose rods or damaged bushings to keep gears free. care
Regular Clutch Inspection and Replacement Timing
Clutch wear is a silent threat that can lock a manual transmission in gear. A reliable inspection routine begins with a visual check of the clutch pedal for any free‑play loss, a common early warning sign. If the pedal feels spongy or the travel is reduced, the pressure plate or release bearing may be deteriorating. Next, listen for a metallic thud or grinding noise when engaging or disengaging the clutch; this often indicates worn friction material or a misaligned release mechanism. A simple test is to drive the vehicle at low speed with the engine off, then press the clutch fully and release the brake. If the car does not move or stalls, the clutch is likely failing. Many manufacturers recommend a clutch replacement interval of 80,000 to 100,000 miles, but this can vary with driving style and vehicle load. Heavy towing, frequent short trips, or aggressive shifting accelerate wear, so owners should schedule a professional inspection every 20,000 to 30,000 miles under these conditions. During an inspection, a mechanic will measure the clutch pedal travel, inspect the pressure plate for cracks, and check the release bearing for wear. If the clutch disc shows signs of glazing, scoring, or a warped surface, replacement is advised. Timely replacement not only prevents a stuck‑gear scenario but also protects the transmission internals from damage that could lead to costly rebuilds. By adhering to a disciplined inspection schedule and addressing symptoms early, drivers can maintain smooth shifting and avoid the frustration of a manual transmission that refuses to disengage. Keep cable tight. Avoid riding clutch. Lorem ipsum dolor sit amet, consectetur adipiscing elit. Sed do eiusmod tempor incididunt ut labore et dolore magna aliqua. Ut enim ad minim veniam, quis nostrud exercitation ullamco laboris nisi ut aliquip ex ea commodo consequat. Duis aute irure dolor in reprehenderit in voluptate velit esse cillum dolore eu fugiat nulla pariatur. Excepteur sint occaecat cupidatat non proident, sunt in culpa qui officia deserunt mollit anim id est laborum.
Maintain Proper Transmission Fluid Quality and Levels
Transmission fluid keeps a manual gearbox running smoothly. Use the fluid type and change interval from the owner’s manual—most cars call for a 75W‑90 synthetic blend or full‑synthetic, while older models may use 75W‑80 mineral. Check the level with the engine running on a level surface: pull the dipstick, wipe it, reinsert it fully, then pull it again. The fluid should sit between the “MIN” and “MAX” marks. Below “MIN” means the synchronizers are at risk of seizing; above “MAX” can cause foaming and over‑pressure. A low level can lock gears, while an over‑filled tank can make the clutch feel mushy. Inspect the fluid’s color and smell; fresh fluid is amber and odorless. Dark brown or burnt odor signals contamination or thermal breakdown—time for a change. Replace the fluid every 30,000–60,000 miles, or sooner if the car runs in dusty or hot conditions. While changing, replace the filter if it’s clogged; a blocked filter restricts flow and can lock the gearbox. Keep the filter clean and use a calibrated gauge to avoid over‑filling. By maintaining proper fluid quality and level, you preserve synchronizer function, reduce clutch drag, and prevent a stubborn “stuck in gear” condition. Check fluid often daily. Regular fluid checks also help detect leaks, contamination, or low pressure that can lead to harsh shifting or a sudden loss of gear engagement, ensuring reliable operation over time for drivers. A well‑maintained transmission saves you from stuck gears and extends the drivetrain’s overall life— and more. Check.!
Ensure Proper Shift Lever and Linkage Adjustments
Proper adjustment of the shift lever and its linkage is essential for a manual transmission to move freely between gears; Start by locating the adjustment screws or shims on the shifter housing or the linkage rod. Consult the service manual for the exact torque specifications and the recommended clearance—typically 0.5 mm to 1.0 mm of play at the lever end. If the lever feels stiff or the gear selector jumps, the linkage may be binding or mis‑aligned. Use a straightedge to check for straightness; any deviation can cause a “stuck” gear. Tighten or loosen the adjustment screws in small increments, testing the lever position after each change. When the lever reaches the neutral position, the linkage should allow the transmission to disengage without resistance. Inspect the linkage rods for bent or worn bushings; replace any damaged components. A common issue is the linkage rod being too long, which forces the shifter into a hard stop. Adjust the rod length by sliding the rod in or out of the shifter housing until the lever moves smoothly. After adjustment, test drive the vehicle, shifting through all gears at low speed to confirm smooth engagement. If the problem persists, check for internal linkage wear or a damaged shift fork. Regularly lubricate the linkage joints with a light grease to prevent corrosion and ensure smooth motion. Proper adjustment not only prevents a gear from getting stuck, but also extends the life of the clutch and synchronizers by reducing wear from mis‑alignment. Remember to verify the shift lever’s travel by moving it from first gear to reverse; any binding indicates the adjustment is still off. A correctly adjusted linkage ensures the driver can shift without hesitation, reducing wear on the clutch and synchronizers and preventing future gear‑stuck incidents. If the linkage still feels off after adjustment, inspect the shifter shaft for wear or damage; a warped shaft can cause binding even with correct linkage length. Additionally, check the shift fork inside the transmission for proper spring tension; a weak fork spring can prevent the gear from fully disengaging, leading to a stuck state. Finally, ensure the shifter cable or rod is not corroded; corrosion can increase friction and lock the lever. By systematically checking and correcting these components, you can restore smooth gear changes and avoid the frustration of a stuck gear. When performing adjustments, always use a calibrated feeler gauge to measure the clearance between the shifter and the linkage rod. The ideal clearance is usually specified in the service manual; for many passenger cars it is 0.5 mm. If you find a larger gap, tighten the adjustment screws; if the gap is too small, loosen them. After each adjustment, test the lever at low engine RPM to confirm that the gear shift feels smooth and that the neutral position is reachable. If the lever still stalls, consider replacing the linkage rod entirely, as internal wear can be difficult to diagnose visually. Replacing the rod often resolves stubborn gear‑stuck problems that persist after adjustment and lubrication. Regular maintenance of the linkage not only prevents stuck gears but also reduces wear on the clutch and synchronizers, extending the overall life of the transmission. Always double‑check the final adjustment with a feeler gauge to guarantee correct clearance properly!.